August 2025
Label Buddy
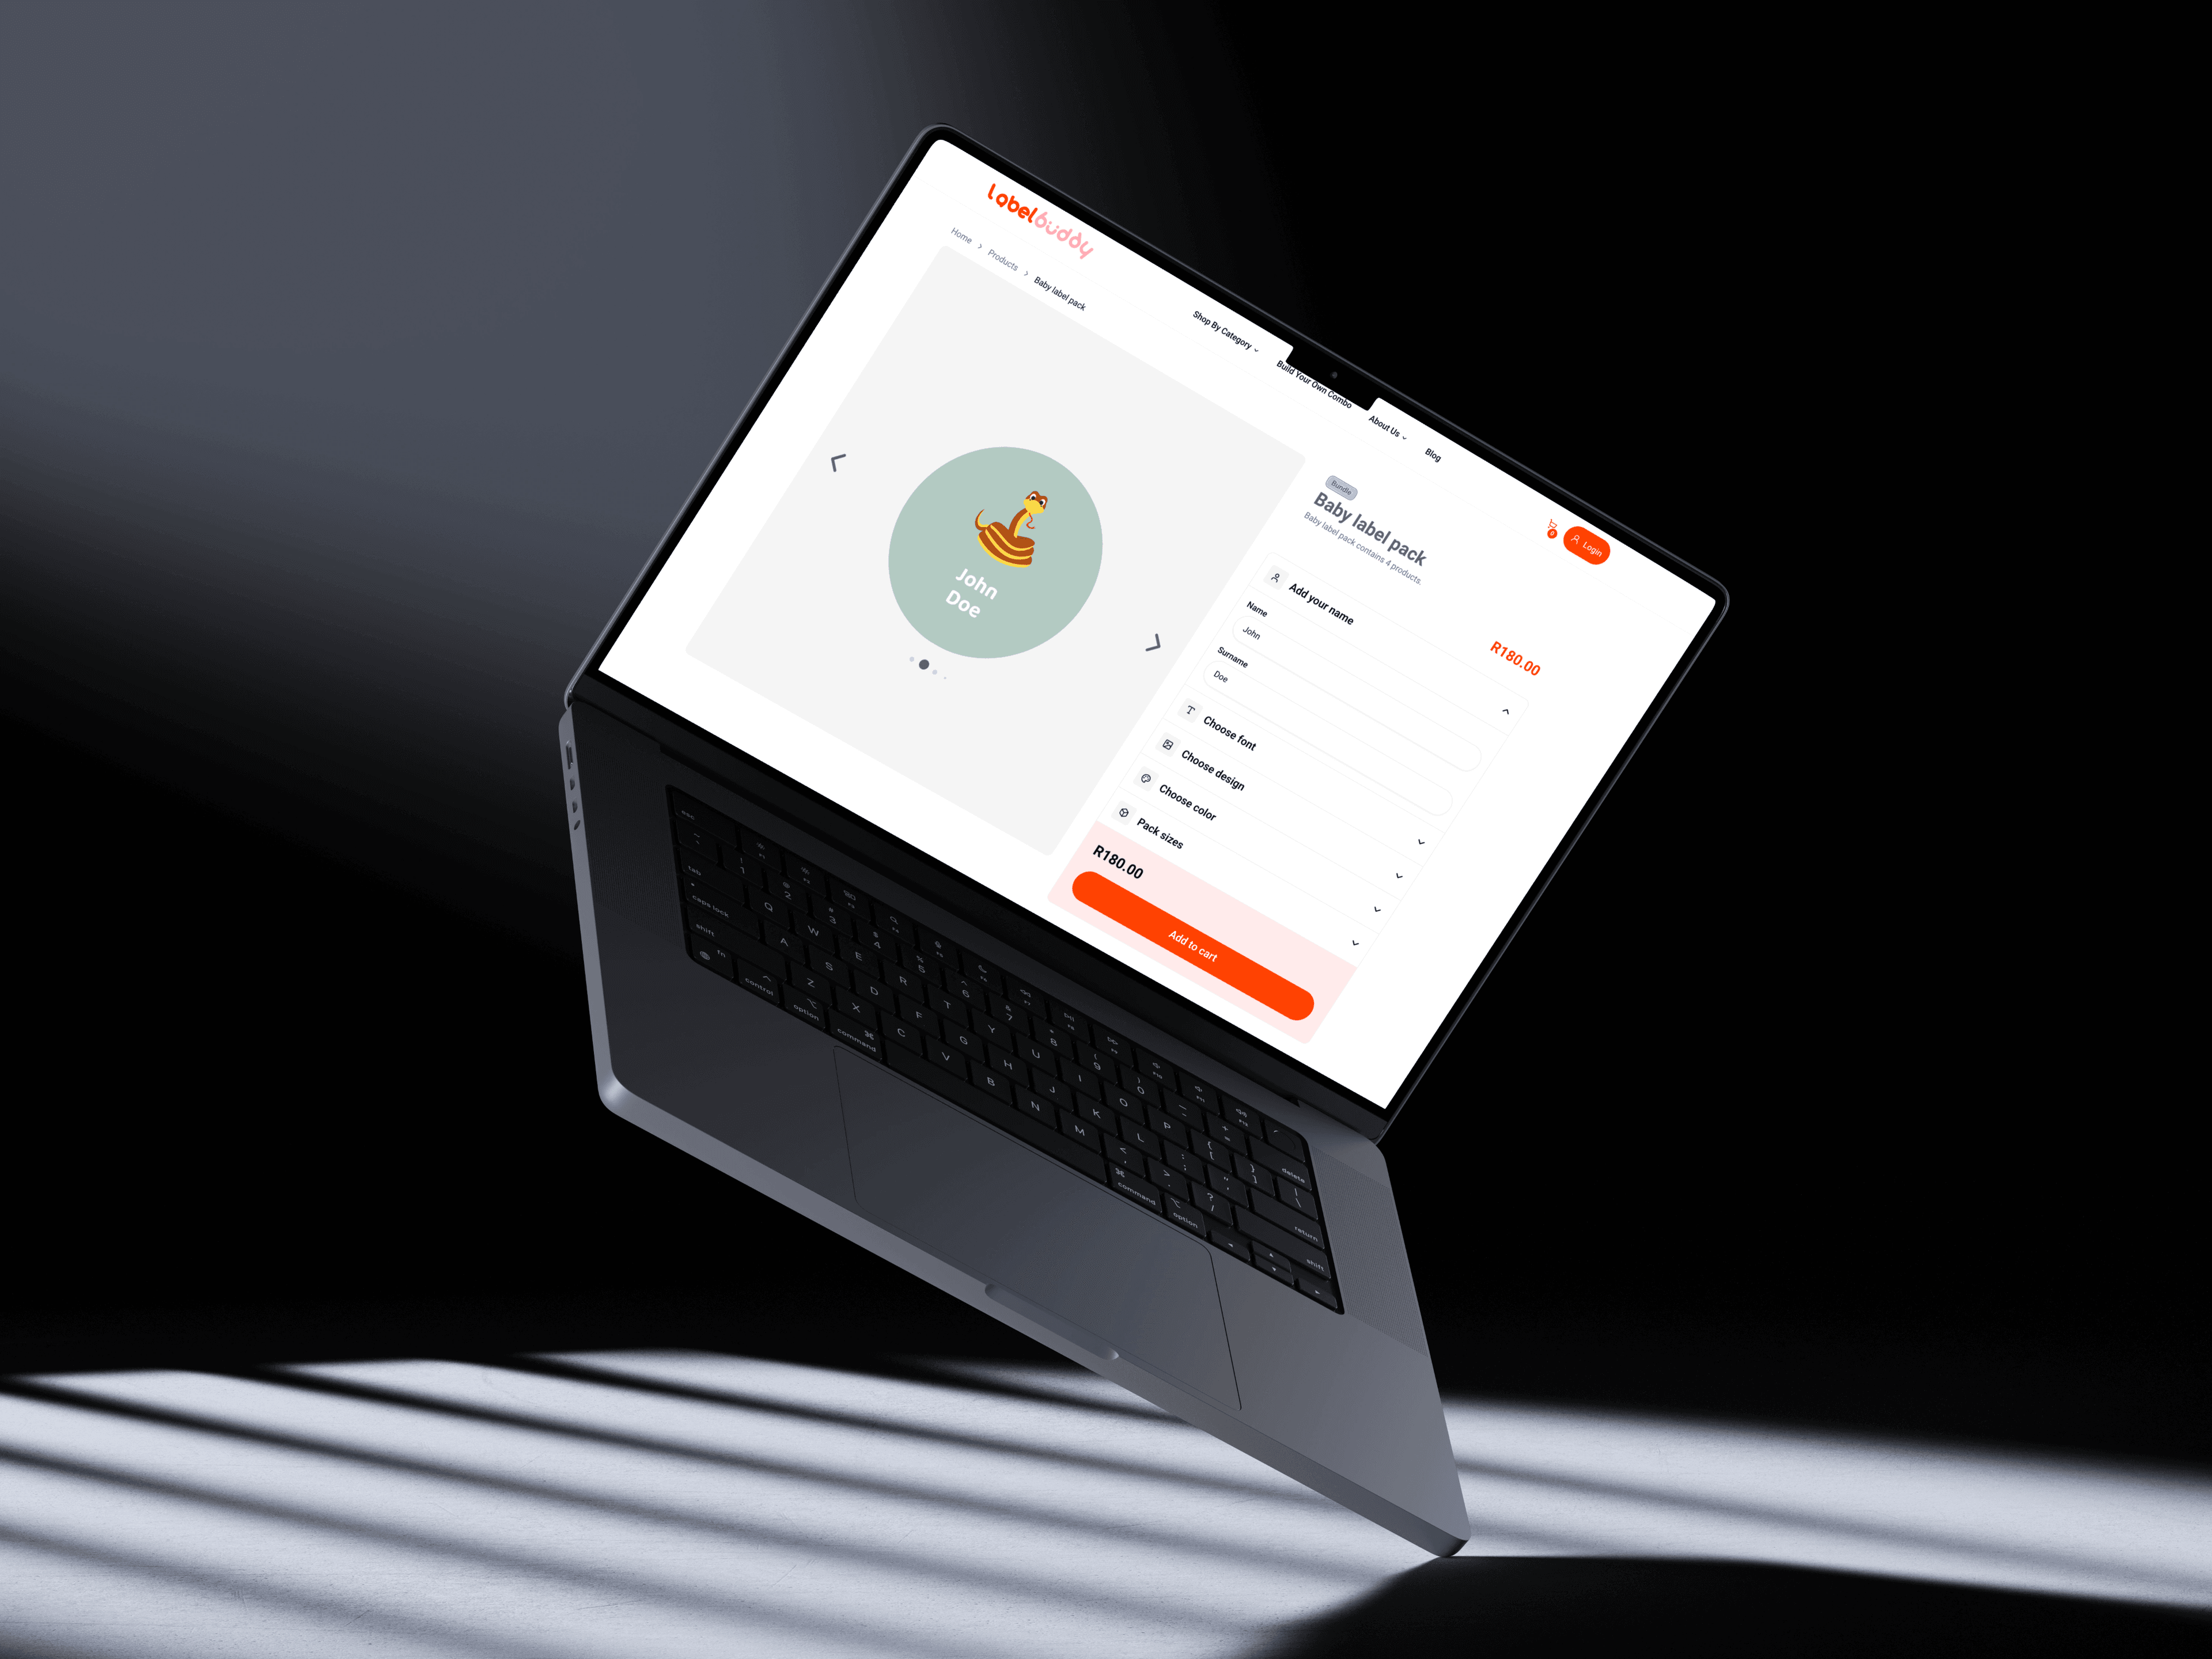
Label Buddy is a personalized label e-commerce platform. Parents and individuals can design custom name labels for school supplies, lunchboxes, and clothing. The platform features a custom SVG rendering engine that shows a live, pixel-perfect preview of the label as the user types a name, picks a font, chooses a design, and selects colors — all updating instantly in the browser.
Core Problem
Parents need personalized name labels for their children's school items, but most label shops offer static previews or require back-and-forth with a designer. Customers cannot see exactly what their label will look like before ordering. They cannot change fonts, icons, or colors and see the result right away. This leads to uncertainty, returns, and a slow ordering process.
Core Features
- Real-Time Label Preview: See your label update instantly as you type, pick fonts, choose designs, and select colors.
- Pixel-Perfect Font Rendering: Text is converted into vector paths so the preview looks the same on every device, even without the font installed.
- Design & Icon System: Choose from multiple design themes. Icons are automatically scaled and positioned into the label.
- Color Schemes: Pick a color scheme and watch the background and text update across all label variants.
- Pack Sizes: Select different quantities with dynamic pricing.
- Build Your Own Combo: Mix and match label products into a custom bundle.
- Guest Checkout: Buy without creating an account.
- Secure Payments: Pay with Yoco, with full webhook security.
- Admin Dashboard: Manage products, orders, customers, designs, templates, blog, coupons, and more.
- Blog: Built-in CMS with rich text editing for content and SEO.
- 3D Previews: Interactive 3D lunchbox and school supplies scenes.
My Role and Contributions
I worked as a full-stack developer, responsible for the entire platform from frontend to backend. I used Next.js 15 for the web interface and Supabase for the database, authentication, and storage.
The most challenging part was building the real-time label customization engine. The idea is simple: designers create SVG files with specially named placeholder elements that define where text, icons, and background colors should go. The system reads these markers at runtime and injects the user's content into the right spots. This means adding a new label design is just uploading an SVG following the naming convention — no code changes needed.
For text rendering, I used opentype.js to load font files in the browser and convert typed text into SVG path data — actual vector outlines of the letters. This removes any dependency on the user having the font installed. I built a binary search algorithm that finds the largest font size that fits inside the label's text area, handling multiple layout modes depending on how many text fields the user fills in. The system detects which mode to use based on what placeholder elements exist in the SVG template.
For the icon system, when a user picks a different design, the system fetches the icon SVG, reads its dimensions, scales and centers it into the designated slot, and injects it. Since both the template and the icon can have conflicting CSS class names, I built a style isolation system that prevents collisions between the host SVG and injected content.
Color changes are applied by finding the background element and swapping its fill, and by setting fill colors on the generated text paths. For performance, I added font caching, debounced inputs, React.memo with custom comparators, and memoized processing functions.
I built the checkout as a multi-step flow supporting both registered and guest users. Guests provide their info and the system creates a user record automatically, or updates an existing one if the email matches. The checkout handles two delivery methods: door-to-door delivery with region-based shipping rates and a free shipping threshold, or free in-person pickup.
For payments, I integrated Yoco. The system creates an order in Supabase, calls Yoco's API to start a checkout session, and redirects the user to pay. On the backend, I wrote a webhook handler with proper security: HMAC-SHA256 signature verification, replay attack protection with a 3-minute timestamp window, and constant-time comparison. On successful payment, the system updates order status and sends a confirmation email via Resend.
The cart is built with Zustand and persists to localStorage. It handles individual items, customized variants, and combo bundles. Items with the same product and identical customizations merge automatically; different customizations create separate line items. I also handled SSR hydration carefully — the cart starts empty on the server and loads from localStorage on mount to avoid React mismatches.
I built the admin dashboard with 17+ sections for managing products, orders, customers, designs, color schemes, SVG templates, fonts, categories, coupons, reviews, blog posts, footer links, newsletter subscribers, and payments. Every admin action is wrapped with role-based access checks. Data tables use @tanstack/react-table and all fetching goes through React Query with caching.
For authentication, I set up email/password registration with Zod validation, Google OAuth, password reset, and guest checkout. Middleware protects admin and profile routes.
I also built a blog system with a rich text editor, markdown rendering with syntax highlighting and auto-generated table of contents, and SEO metadata support. I created 3D product visualization scenes with React Three Fiber, and implemented a contact form, newsletter signup, coupon system, and review moderation.
Technical Architecture
- Frontend: Next.js 15, React 19, Tailwind CSS, Framer Motion, Swiper, React Three Fiber.
- Database: Supabase (PostgreSQL) with 26 tables and Row Level Security.
- Auth: Supabase Auth with email/password, Google OAuth, and guest support.
- State: Zustand for cart with localStorage persistence. React Query for server state.
- SVG Engine: opentype.js for font-to-path conversion, binary search auto-sizing, regex SVG manipulation, style isolation for composed SVGs.
- Payments: Yoco with HMAC-SHA256 webhook verification.
- Email: Resend for transactional emails.
- Storage: Supabase Storage for images, SVG templates, fonts, and icons.
- Validation: Zod for client and server form validation.
Challenges and Solutions
- Consistent Label Previews Across Devices: Browser text elements depend on locally installed fonts, which produces different results on different devices. I solved this by converting text into SVG vector paths using opentype.js, so the preview renders identically everywhere.
- Auto-Sizing Text to Fit Labels: Different names have different lengths, but labels have fixed-size text areas. I built a binary search that tests font sizes to find the largest one that fits, with centering based on actual glyph measurements rather than generic font metrics.
- SVG Style Collisions: Injecting one SVG into another caused CSS class name conflicts. I solved this by building a style isolation layer that prevents naming collisions between the template and injected content.
- Multiple Text Layouts: Some templates have one text zone, others have two. The engine detects the template structure automatically and switches between layout modes without any manual configuration.
- Guest User Deduplication: Guest users might order multiple times with the same email. The system checks for existing records and updates them instead of creating duplicates.
- Payment Security: Webhooks need to be verified to prevent fraud. I implemented HMAC-SHA256 verification with replay protection and timing-safe comparison following Yoco's security spec.
- Cart Customization Matching: The same product with different names or fonts should be separate cart items, but identical setups should merge. Deep comparison of all customization properties handles this automatically.
- SSR Hydration: The cart uses localStorage, which does not exist on the server. I used a hydration pattern where the cart starts empty during server rendering and loads from storage on mount.
Team Collaboration
I worked closely with the business owner who handled product strategy, label design, and customer relationships. I was responsible for all technical decisions, development, and deployment. We communicated regularly to align on features and priorities. The SVG template convention I designed allowed the team to add new label designs independently — they create SVGs with the right element IDs and upload them through the admin panel without needing my involvement.
Impact / Results
Label Buddy gives customers an interactive preview that eliminates guesswork before ordering. The SVG template system makes adding new designs a non-technical task — just upload an SVG. Guest checkout and Yoco integration make purchasing simple for customers. The admin dashboard gives the business full control over their catalog, orders, and content without developer help.
Key Takeaways / Lessons Learned
- Convention-over-configuration works well for content-heavy systems. Defining a clear naming convention for SVG templates let non-developers add new designs without code changes.
- Client-side font rendering with opentype.js solves cross-device consistency problems that CSS alone cannot handle for SVG text.
- Binary search is a clean solution for constraint-fitting problems like auto-sizing text, converging quickly with minimal iterations.
- Style isolation is essential when composing multiple SVG documents to avoid visual conflicts.
- Debouncing and memoization are critical when every keystroke triggers expensive glyph computation.
- Guest checkout reduces friction significantly — not every buyer wants an account.
- Payment webhook security is not optional. HMAC verification, replay protection, and timing-safe comparison are baseline requirements.
- Zustand with localStorage is a simple, effective cart that survives refreshes without server-side session complexity.